Part 2 of Itokin Park x Vinyl Pulse Robo
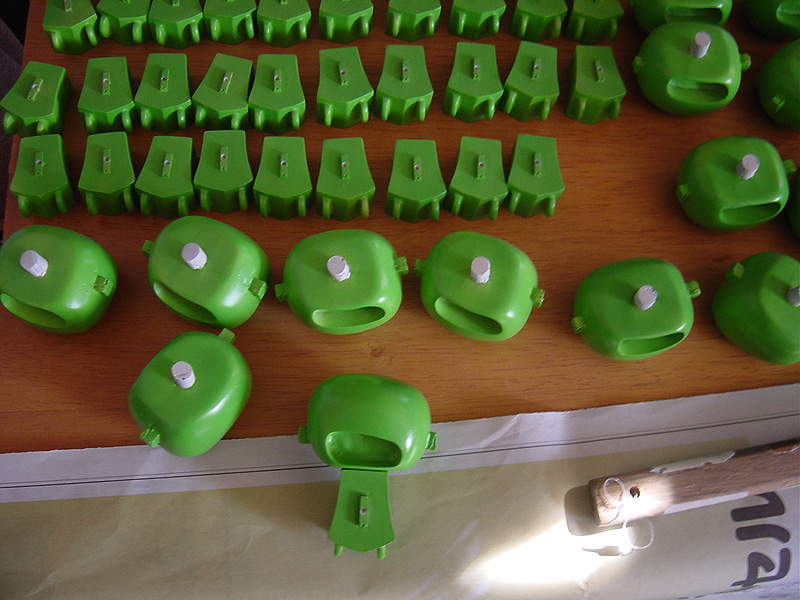
reveals the painted heads and bodies of our exclusive green colorway.
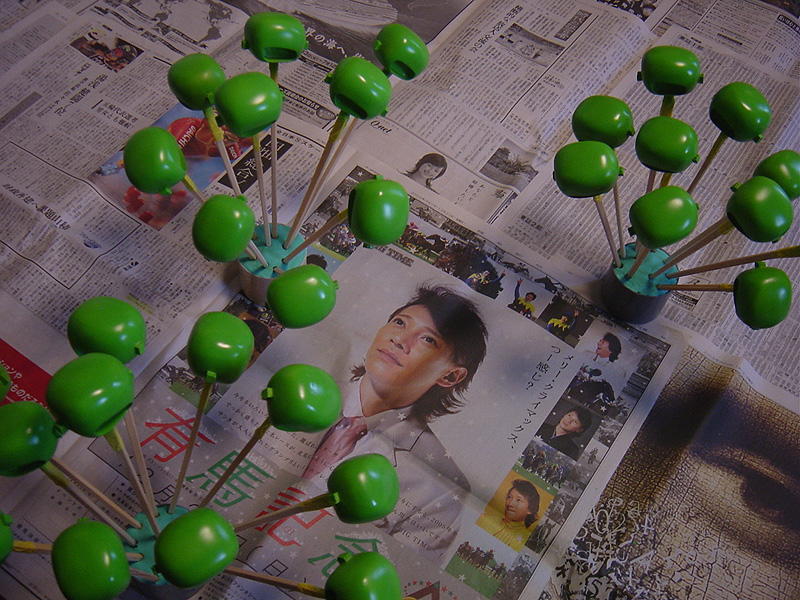
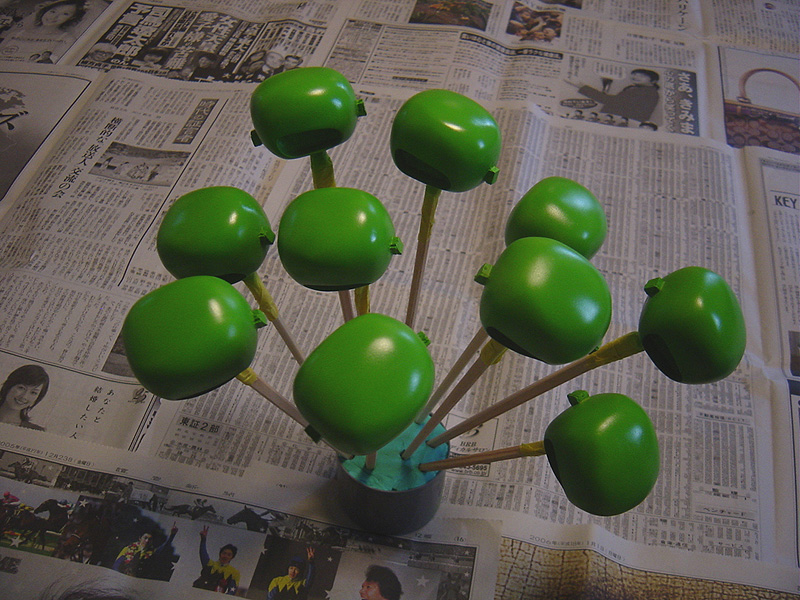
Sticks of green nobs that hardly looked like anything were set out to
dry. Rows of freshly painted bodies waiting to be "installed" onto the
heads. And finally the insertion of the painted face into the hollowed
space. It is always amazing to see the process of making a toy, but I
am in greater awe that this "factory" is actually Itokin Park’s cramped
apartment in Japan. Imagine that!!! Check back tomorrow to see Robo
near its completion.


Any idea of when these may be “up for adoption”?
what are these made of? id like to see a tutorial on how to produce small runs like this out of you home!
It inspiring for someone to do all this themsleves.
I’m with Chris some sort of tutorial would be awesome. Small runs out the kitchen is pretty unbeatable.
Morgan: Robo will be available early next week. Just check back daily for more info.
tutorial huh? well…I would first have to sharpen my Japanese skills….
Hard vinyl? Those parts look hand-formed to me. The yellow reminds me of yellow polyurethane modeling foam. The flesh color reminds me of a variety of bondo (body filler) or putty. The posts appear to be inserted (and glued?) into the foam, covered with tape to keep the bondo(?) off. But… the face opening doesn’t jive with that process; too much work.
Needless to say, I’d be interested in some details as well.
Last year I asked Kazuhiko how he made his figures. His replies:
Q1. the material for the original base
I make the first original base with the clay called Indi65 and make the
mold.
I pour hard material called Polipate into the mold and make the base.
This is the most favorite way to make the base.
Q2.final products
I make everything by myself. I don’t ask companies to make copies.
I make copies by taking the shape with silicon.
I pour something like plastic, which is called Regin, into the silicon.
Then I polish it over and over with special liquid for polishing.
Lastly I paint one by one.
Erin: I have photos of most of the process (except for how he gets his sculpts so nice) if there is interest.
Okay. So he models the original parts using Indi65. Takes a negative and then makes the base by pouring Polipate into that mold. From there he makes a silicon mold from which he gets the final parts that he finishes. Please correct me if I misunderstood.
Any idea how many parts he gets off a silicon mold? Ten… twenty parts per? More?
Information is much appreciated. Thank you.
heck yes there is an interest. let’s see those process photos!
I put some of the photos up at:
http://www.oalaworld.com/kazus_process.html
There are gaps (obviously); The sanding and polishing is quite labor intensive and is not shown. I’ve asked Kazu for more info, such as csven’s question about how many parts he gets off a mold–will post more as soon as I know more. The project he is doing for VinylPulse is one of (and probably) his largest. And I am dying to place an order for one of them!
Those photos are excellent, Erin. Thank you.
Forgot to ask: Is Kazu drawing a vacuum to remove air bubbles in the mold? If so, are there any photos of the set up?
Thanks again.
I thank all of you.
Q1.I can reproduce about 15-20parts from one model.
Q2.I do not use a vacuum.
I hope this information will
prove useful to you.
I am not good at English. I’m sorry.
Thank you.(^^)
Kazuhiko(Itokin Park)
Your English is just fine, Kazuhiko. Many thanks. You’ve been most generous.
Kazuhiko: Thanks for dropping by!!
Erin: Thanks for the great pics!!
Folks: I can’t wait to reveal the final Robo. I promise you won’t be disappointed!! Needless to say, Kazuhiko’s devotion makes this project a labor of love!!!